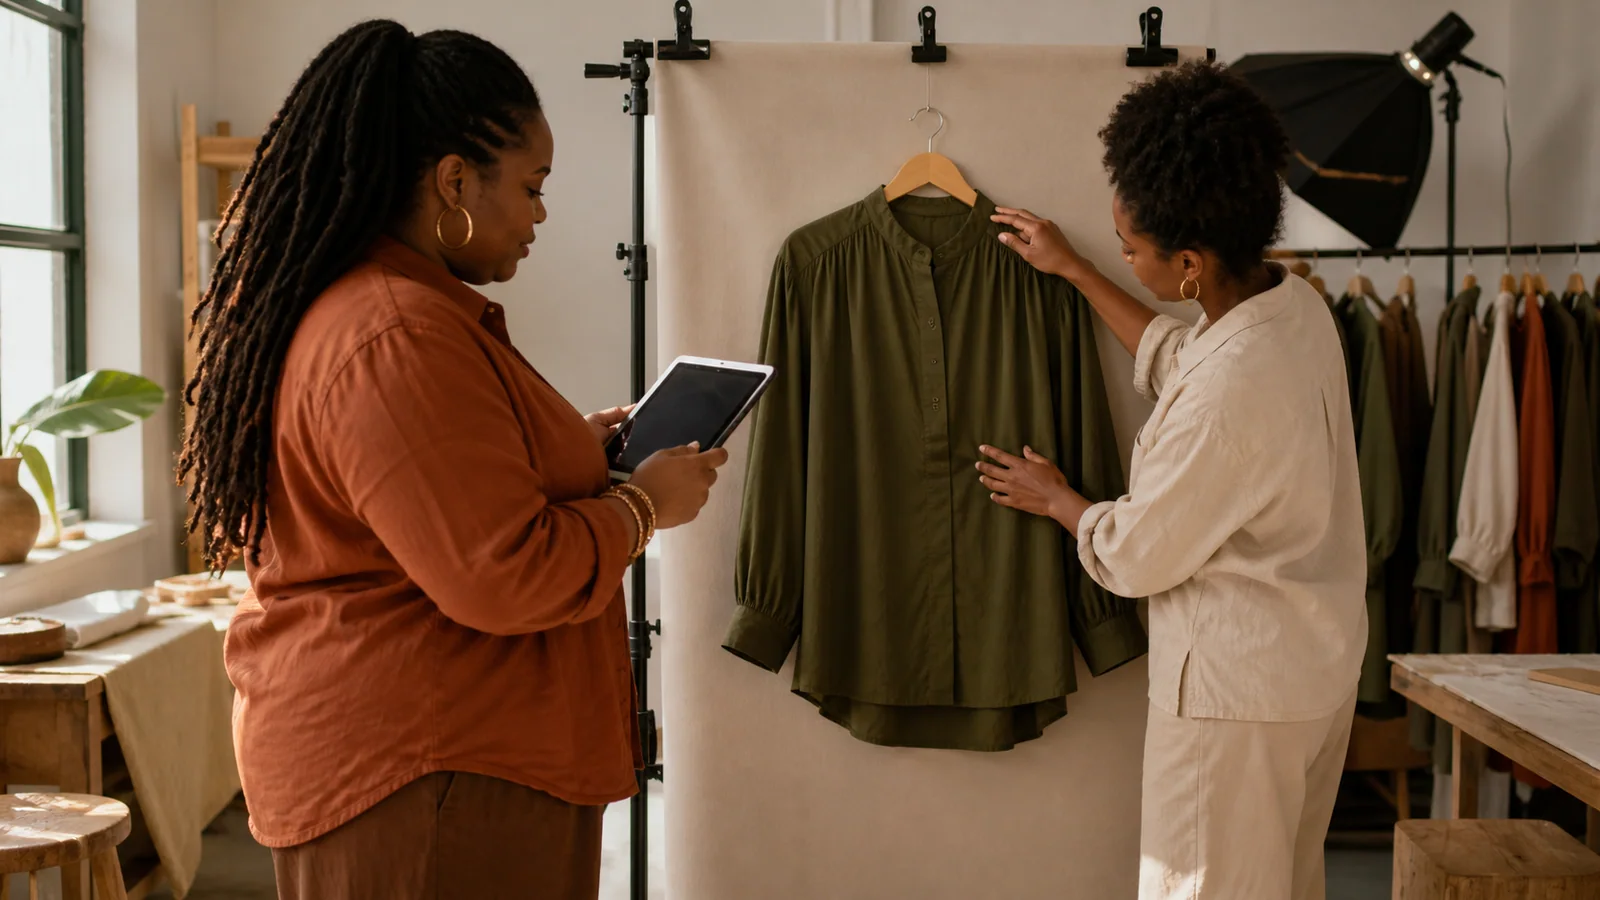
PlusLooks Image Workflow: Garment Photo to Model Image
Follow the PlusLooks image workflow from garment upload to final review, including models, camera views, backgrounds, aspect ratios, and output quality.
Begin with a shot list, not a prompt
The PlusLooks image workflow works best when the team knows where each image will be used before generation begins. A product-page hero, a catalog tile, a vertical social post, and a campaign concept all need different framing. If you generate first and decide later, you are likely to spend credits on attractive images that do not fit a real publishing slot.
For one SKU, write a short shot list. A practical first list might include a 3:4 full-front image for the product page, an upper-front crop for detail, a full-back image when the garment has relevant construction, and a 9:16 lifestyle option for social. Add the intended model direction and background beside each item.
This turns the PlusLooks image workflow into a controlled production job. It also gives reviewers a shared answer to a basic question: what was this image meant to do?
The PlusLooks image workflow connects that publishing slot to every choice that follows.
Step 1: Prepare the garment source
Open PlusLooks and upload the clearest view of the clothing design. The source should show the garment as completely as possible. Keep sleeves, straps, waistbands, and hems inside the frame. Use even light, avoid heavy shadows, and check that hands, hangers, or props do not cover important details.
Front and back images serve different purposes. A front source may be enough for a simple top with no back detail. Add a back photo when the SKU includes a zipper, yoke, print, cutout, pocket, or seam structure that should appear in a rear view. The system can infer unseen areas, but an inferred detail should never be treated as authoritative product information.
Before starting the PlusLooks image workflow, make a quick source check:
- Is the silhouette fully visible?
- Can you distinguish the garment from the background?
- Are color and print scale readable?
- Is the file sharp at normal product-page size?
- Would a reviewer understand the back from the available photos?
If the answer to the last question is no, photograph the back now. A two-minute source fix is cheaper than reviewing a batch built on missing information.
That source gate is the first repeatable rule in the PlusLooks image workflow.
Step 2: Choose the model direction
PlusLooks offers 12 preset combinations built from three plus-size body-shape directions and four skin-tone choices. Presets are useful when you want a repeatable baseline across several garments. Pick one combination, keep it constant for a small batch, and evaluate whether the catalog feels coherent.
A custom model photo is useful when the image set needs to follow an established campaign identity. Choose a clear, front-facing reference with the person visible at the crop you intend to create. Avoid a busy environment, heavy occlusion, unusual lens distortion, or a pose that hides the torso and limbs.
Do not use the model control as a claim about exact measurements. Pear, apple, and hourglass are visual directions, not size charts. The generated image shows a creative interpretation and still requires review.
The best model choice is not automatically the most dramatic one. It is the choice that represents your customer brief and can be applied consistently across the collection.
In the PlusLooks image workflow, the model choice is a production decision, not a random variation.
Step 3: Match the camera view to the garment
The interface combines three viewing directions with three framing levels:
- Front, back, or side
- Full-body, upper-body, or lower-body
That creates nine useful view options. Choose based on the product, not habit. An upper-front crop suits necklines, sleeves, and tops. A lower-front crop gives trousers and skirts more space. Full-front is the clearest baseline for dresses and coordinated looks. Back and side views should be reserved for information the source can support and the customer would genuinely benefit from seeing.
For the first PlusLooks batch, do not generate all nine views for every SKU. Start with the two or three that answer real merchandising questions. A smaller, purposeful set is easier to audit and cheaper to repeat.
Keeping only useful views makes the PlusLooks image workflow easier to review.
Step 4: Set the aspect ratio for the destination
PlusLooks supports Auto, 1:1, 3:4, 2:3, 9:16, 4:3, and 16:9. Treat aspect ratio as part of the brief rather than a finishing crop.
Use the exact ratio required by your storefront or channel whenever possible. Cropping a full-body portrait into a square later may remove the shoes, hem, or useful negative space. Reframing after generation can also make a previously balanced pose feel cramped.
A simple channel map keeps the workflow organized:
| Destination | Useful starting ratio | Review focus |
|---|---|---|
| Product page | 3:4 or the storefront standard | Consistent scale and margins |
| Catalog grid | 1:1 or 3:4 | Silhouette readable at thumbnail size |
| Social story or reel cover | 9:16 | Safe space for interface overlays |
| Editorial banner | 16:9 or 4:3 | Subject placement and negative space |
These are starting points, not universal rules. Your current design system should decide the final specification.
The destination ratio belongs inside the PlusLooks image workflow, not in an unplanned crop after export.
Step 5: Choose a background with a job
Background choices should support the garment rather than rescue an unclear brief.
Original background is useful when the model reference already contains an approved setting and the composition needs continuity. Review edges carefully because the new garment must sit naturally within the existing light and depth.
White background is the safest starting point for catalogs, marketplaces, and SKU comparison. It reduces visual variables and makes garment changes easier to spot during review.
Described background can create an editorial or lifestyle direction. Keep the instruction concrete: location, light, palette, and mood. “Warm daylight in a quiet cream studio” gives the system a more reviewable target than “luxury fashion vibes.” Also check that background light agrees with the light on the model.
For a first batch, generate and approve the white-background set before exploring lifestyle scenes. Once product fidelity is stable, creative variation becomes easier to judge.
This order keeps the PlusLooks image workflow focused on the garment before it adds scene complexity.
Step 6: Pick 1K or 2K deliberately
Use 1K for fast tests, composition decisions, and early review. Choose 2K when the image direction has already passed inspection and the final destination benefits from a larger file. In the current credit configuration, 2K adds one credit per image to the base generation cost. The interface shows the total before generation; check the pricing page for current plan details.
Higher resolution does not repair a hidden hem, an inaccurate neckline, or a poor model reference. It gives a larger version of the chosen composition. Approve the content first, then spend on output size.
This two-pass method makes the PlusLooks image workflow more efficient: low-cost direction tests first, larger finals second.
Step 7: Generate a controlled first pass
Select one model, one garment, one view, one ratio, one background, and one resolution. Generate the image and compare it with the source before changing anything else.
If the result fails, diagnose the category:
- Garment error: neckline, sleeve, hem, print, color, closure, or pocket changed.
- Model error: anatomy, hands, pose, or body direction looks inconsistent.
- Composition error: crop, scale, angle, or negative space misses the brief.
- Background error: light, edges, depth, or scene conflicts with the subject.
Change the input tied to that error. Swapping the model, ratio, and background at the same time may create a better image, but it will not tell you what fixed the problem.
Single-variable changes give the PlusLooks image workflow a useful feedback loop.
Step 8: Review as a product team
Every PlusLooks batch should have a named approver who can compare the output with the real product and reject inaccurate details.
An owner turns the PlusLooks image workflow from generation into accountable production.
Use three review passes:
- Product pass: silhouette, construction, color, print, length, and visible hardware.
- Image pass: model anatomy, garment edges, shadows, background, and realism.
- Publishing pass: ratio, crop, resolution, naming, and consistency with neighboring images.
Store the source, settings, output, and decision together. When an image is rejected, record one short reason. “Back zipper missing” is useful; “looks wrong” is not. Specific review notes improve the next attempt and make team standards easier to teach.
Build a repeatable recipe
Once one image passes, save the decisions as a recipe in your production brief. For example:
Dresses: hourglass/olive preset, full-front, 3:4, white background, 1K proof, 2K final after approval.
The point is not to lock every product into one look. It is to reduce unnecessary variation. Create one recipe for catalog images and use the AI lookbook generator to test an edited campaign sequence with its own model, scene, and crop rules. When a garment needs an exception, state why.
Each approved recipe becomes a shortcut through the next PlusLooks image workflow.
A repeatable PlusLooks image workflow lets a small team test more representation and channel formats without losing editorial control.
Run your first PlusLooks image workflow
Choose one garment with a clear front image and a reviewer who knows the real product. Write two required shots, set the destination ratios, and generate at 1K. Approve product fidelity before adding backgrounds or moving to 2K.
That is how PlusLooks works in practice: a short production loop with explicit choices at every stage. Read the source-image checklist if your garment files need preparation, or start in PlusLooks with one controlled brief.
Author
Categories
More Posts
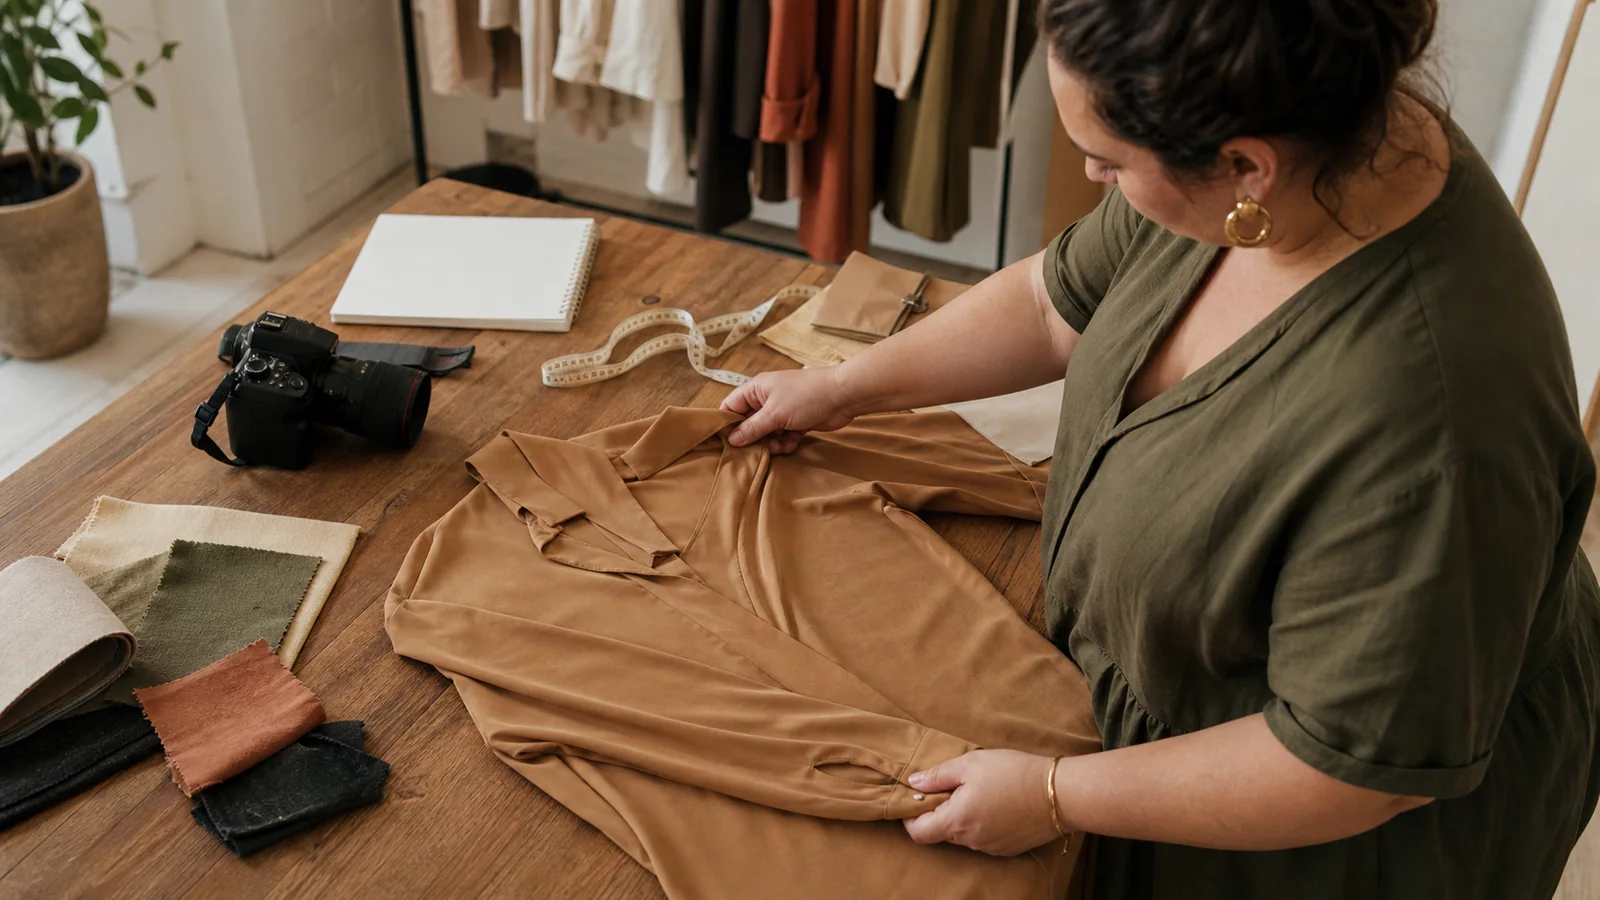
AI Clothes Changer Online: 5 Checks Before You Generate
Use an AI clothes changer online with fewer avoidable errors. Check garment photos, model references, views, backgrounds, ratios, and final image quality.
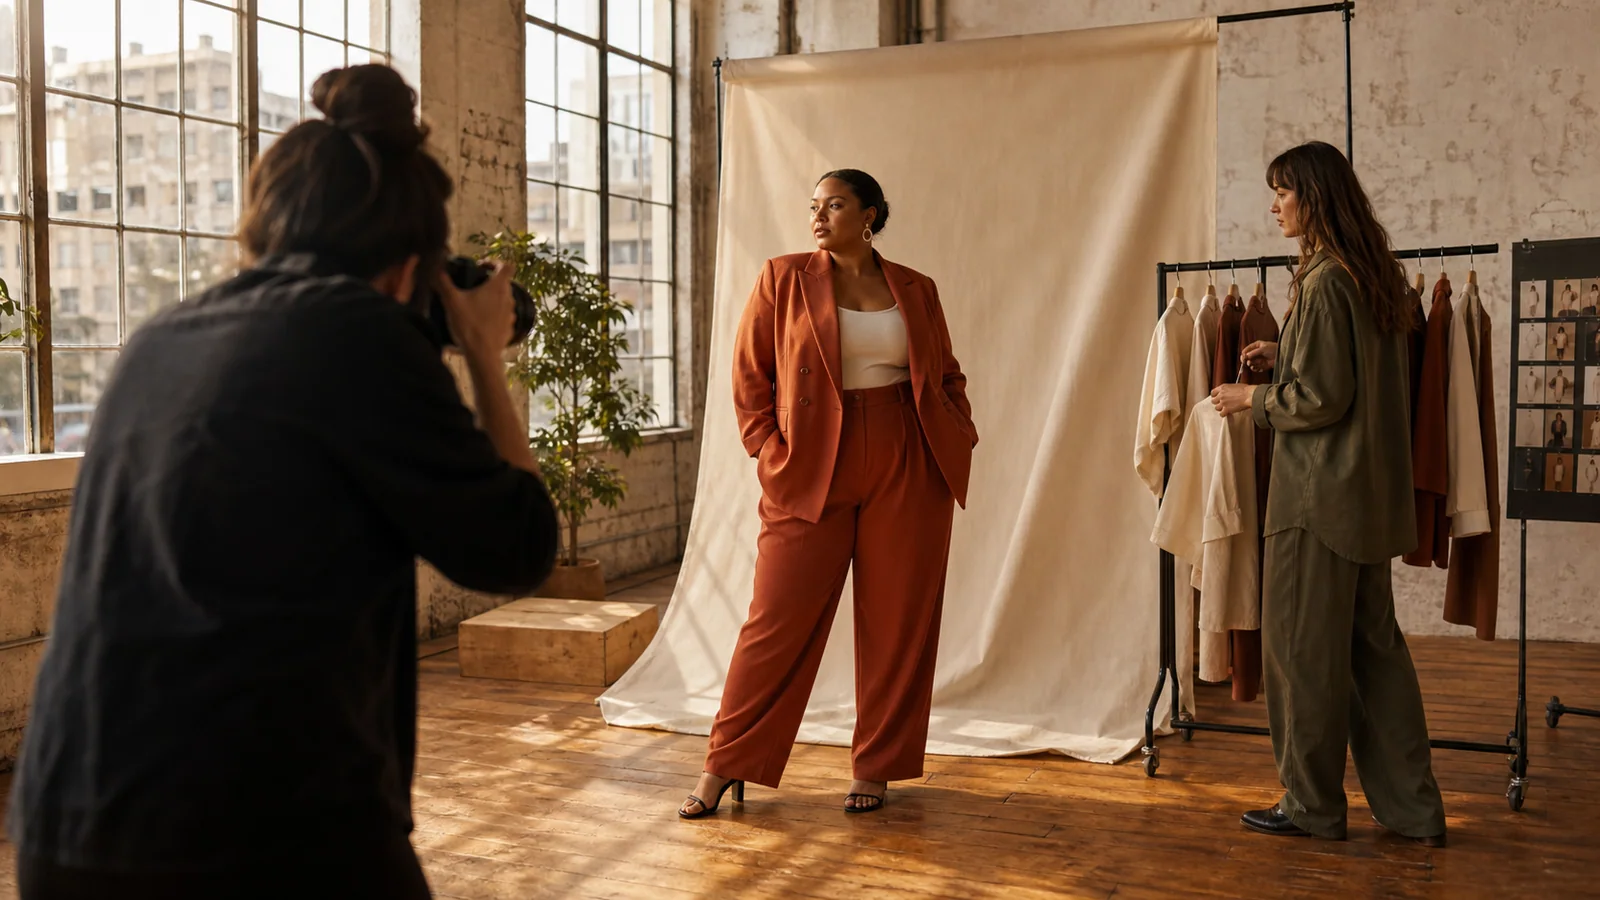
How to Make an AI Fashion Photoshoot for a Clothing Brand
Plan an AI fashion photoshoot around real publishing needs. Build a shot list for PDPs, catalogs, campaigns, marketplaces, and social content.
What Is AI Virtual Try-On? A Guide for Clothing Brands
What is AI virtual try-on for a clothing brand? Learn how it turns garment photos into on-model images, what it can prove, and where review still matters.
Newsletter
Join the PlusLooks community
Get styling tips, new features, and plus-size fashion trends delivered to your inbox