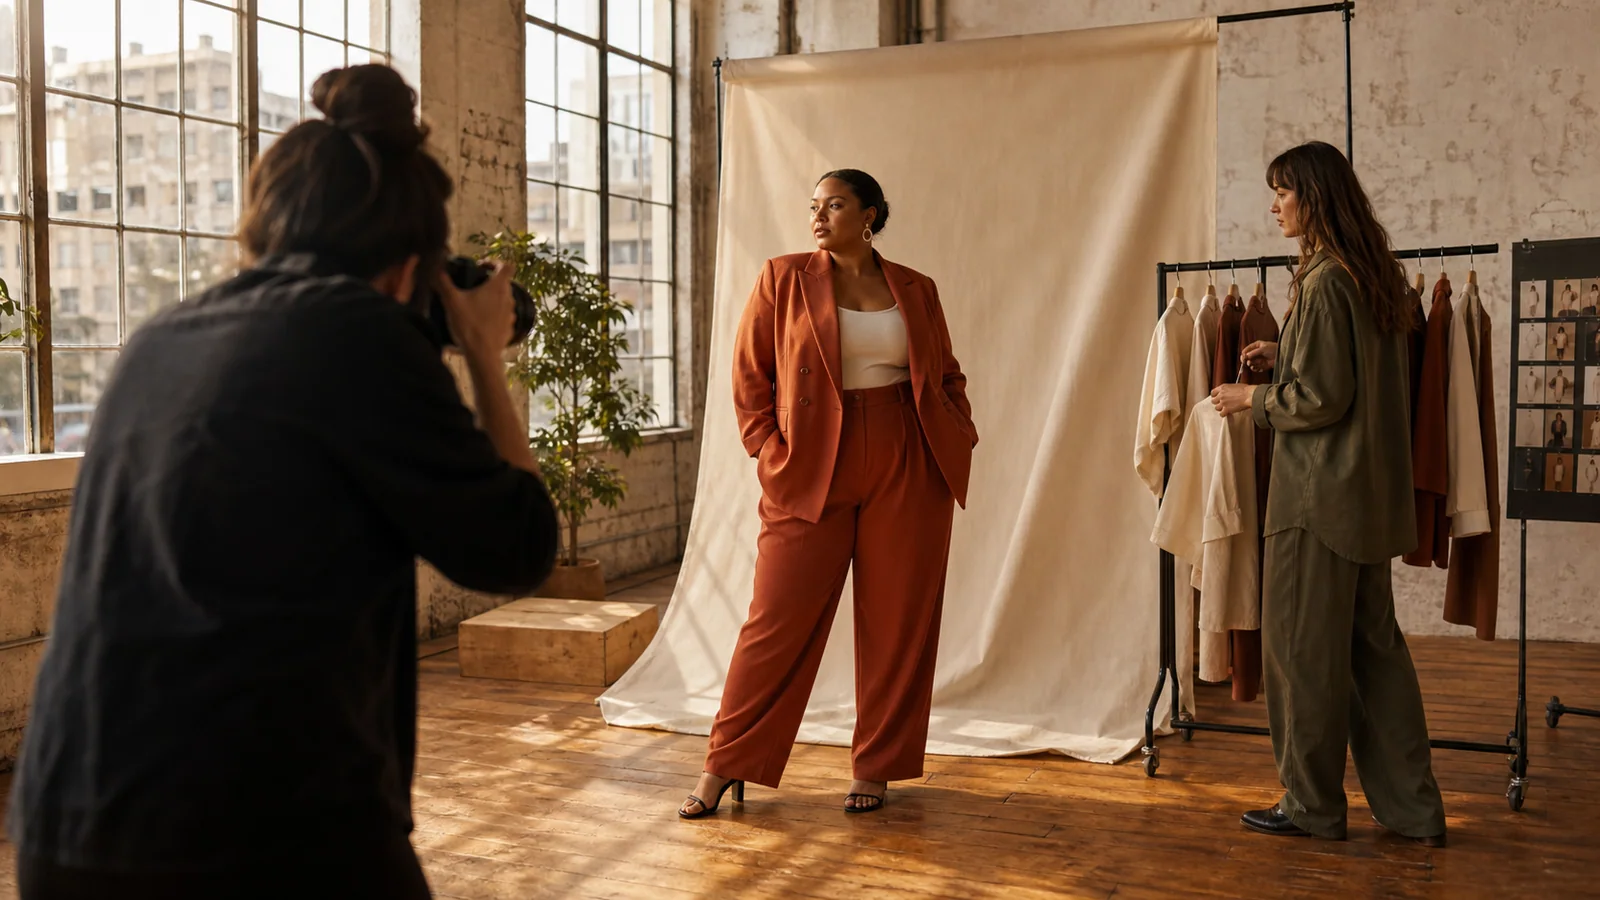
How to Make an AI Fashion Photoshoot for a Clothing Brand
Plan an AI fashion photoshoot around real publishing needs. Build a shot list for PDPs, catalogs, campaigns, marketplaces, and social content.
The useful shoot begins at the destination
An AI fashion photoshoot should not begin with “make something beautiful.” It should begin with a list of empty image slots: the product-page hero that needs a 3:4 front view, the category tile that must stay readable at thumbnail size, the marketplace frame that requires a quiet background, and the campaign banner that needs room for copy.
Once those slots are visible, the creative choices become easier. You know which garments matter, how much of the model must be shown, which ratio belongs to each channel, and what a reviewer needs to approve. Without that plan, generation becomes a mood-board exercise. It may produce strong images, but not a usable launch set.
This guide builds an AI fashion photoshoot for one small collection. The same method works for a single SKU test or a larger seasonal drop.
Inventory every place the images will appear
Make a simple channel table before choosing a model. Do not rely on “we can crop it later.” Cropping can remove a hem, compress the pose, or leave too little room for interface elements.
| Channel | Core job | Starting image |
|---|---|---|
| Product detail page | Explain the SKU | Clear full-front on-model view |
| Product alternates | Add useful garment information | Back, side, or detail crop |
| Category grid | Support quick comparison | Consistent ratio, scale, and background |
| Marketplace | Meet a fixed listing standard | Quiet, product-led composition |
| Campaign landing page | Carry a visual story | Wider or more editorial frame |
| Social | Stop the scroll and fit UI | Vertical frame with safe text space |
| Support a focused message | Strong crop that works at small width |
Add the exact pixel and ratio requirements from your storefront and channels. PlusLooks supports Auto, 1:1, 3:4, 2:3, 9:16, 4:3, and 16:9, so most common placements can be planned before generation.
This channel inventory gives the AI fashion photoshoot a measurable finish line.
Choose a hero SKU for the pilot
Do not begin an AI fashion photoshoot with the most difficult garment in the collection. Choose one item that represents the brand and is easy to verify: a dress with a clear silhouette, a top with visible construction, or trousers with clean front and back sources.
Avoid making the first test depend on transparent layers, sequins, mirrors, extreme shine, very fine typography, or details hidden in the source. Those products may still be worth testing later, but they are poor diagnostic material. If the first output fails, the team should be able to identify whether the issue came from the source, model, composition, or background.
Assign one person who knows the real garment to review the pilot. The person approving “beautiful” should not be the only person approving “accurate.”
Build a minimum viable shot list
For the hero SKU, start with four frames:
- PDP primary: full-front, standard storefront ratio, neutral background.
- PDP alternate: one view that adds real information, such as full-back or upper-front.
- Campaign option: editorial background and composition matched to the launch theme.
- Social option: vertical ratio with enough safe space for native interface and copy.
This is enough to test whether the AI fashion photoshoot can serve both commerce and creative needs. It also prevents the team from generating every possible view without knowing which ones will be published.
If the garment has no meaningful back detail, do not create a back image merely to complete a set. Use an upper-body crop or side view that answers a better customer question.
The AI fashion photoshoot should be complete when every required slot is covered, not when every menu option has been used.
Write the product-truth list
Before uploading, list the garment features that must survive every image. Keep it short enough to use during review.
For a printed wrap dress, the list might be:
- V-neck overlap remains in the correct direction.
- Waist tie begins at the correct position.
- Sleeve reaches the intended point.
- Print scale and color remain stable.
- Hem length and shape stay consistent.
- No pockets, buttons, or seams are added.
The product-truth list is more important than a long style prompt. It tells the team when an otherwise impressive image must be rejected. An AI fashion photoshoot creates candidate imagery; it does not make alterations to the actual SKU acceptable.
Set a model system, not a one-off face
PlusLooks offers 12 preset combinations across three plus-size body-shape directions and four skin-tone choices. A custom model reference can support an established campaign identity. Whichever route you choose, plan a model system for the collection rather than selecting a new person randomly for every garment.
For a catalog, a small rotating set can provide representation while keeping the page coherent. Fix the background, ratio, camera direction, and subject scale, then rotate approved model directions. For a campaign, keep the cast and styling logic consistent even when scene and pose vary.
This model system keeps the AI fashion photoshoot recognizable across a collection.
Body-shape controls are visual directions, not size measurements. Do not use an AI fashion photoshoot to claim exact fit or recommend a size. Product imagery and sizing systems should each be described according to what they actually measure or generate.
The plus-size fashion photography brief gives a more detailed representation checklist.
Separate catalog and campaign recipes
Trying to make one image perform every job usually weakens it. Build two recipes.
Catalog recipe
Use a neutral or white background, consistent full-front framing, a fixed storefront ratio, and stable subject scale. The garment should be the clearest element. Begin at 1K for review and move approved finals to 2K only when the destination benefits from the larger output.
Campaign recipe
Start from a real placement: wide landing hero, vertical social story, or editorial card. Specify scene, light, palette, and negative space. Keep the description concrete. “Late-afternoon window light in a warm stone studio, clean floor, empty space on the left” can be reviewed against a layout. “Make it viral and luxurious” cannot.
The catalog recipe protects comparison. The campaign recipe creates narrative range. Both belong in the same AI fashion photoshoot, but they should not share an ambiguous brief.
Generate in passes
Large mixed batches make diagnosis difficult. Use three passes instead.
Pass 1: Composition proof
Generate one 1K image for each recipe. Hold the garment and model constant. Check whether the view, crop, ratio, and background serve the destination.
Pass 2: Product approval
Compare the strongest proof with the source and physical SKU. Inspect silhouette, neckline, sleeve, waist, hem, color, print, pockets, closures, and visible construction. Reject inaccuracies even when the overall image is attractive.
Pass 3: Controlled expansion
After approval, create the needed alternate views, model directions, and channel variants. Upgrade to 2K where the final placement requires it. In the current PlusLooks configuration, 2K adds one credit per generated image to the base cost, and the total is shown before generation.
This order makes the AI fashion photoshoot easier to budget because the team is not paying for large finals while the composition is still undecided.
Review the collection in layouts
Individual files hide system problems. Put the PDP images into a mock product page, assemble category tiles in a grid, place the campaign hero behind its real headline, and preview social images with interface-safe areas.
Look for:
- Changing headroom or model scale across the catalog
- Garment colors that drift between views
- Inconsistent white or neutral backgrounds
- Crops that remove product information
- Campaign subjects covered by text
- Model variety that feels random rather than planned
- One strong image that clashes with the rest of the launch
An AI fashion photoshoot is complete only when the images work together in their destinations. Approval inside the generator is not the final review.
Name and record the outputs
Use filenames that preserve the SKU, model and view, background, ratio, resolution, and approval status. Keep the source, settings, generated files, and rejection reasons together. A note such as “print shifted at right waist” helps the next AI fashion photoshoot and prevents a rejected file from being mistaken for an approved final.
Know when to book a conventional shoot
AI is one production option, not a requirement for every asset. Choose physical samples and a conventional shoot when a product’s commercial value depends on details the source cannot fully show, when materials are unusually transparent or reflective, or when the image must demonstrate exact construction and fit.
You can also combine methods. Use AI imagery to explore art direction and channel crops, then carry the approved visual language into a physical campaign. Or shoot a core set and use generated candidates to test additional backgrounds and model directions.
The right question is not whether an AI fashion photoshoot replaces photography. It is which parts of the image plan benefit from faster visual iteration and which parts require physical evidence.
Turn one pilot into a launch system
After the hero SKU passes, document the approved catalog recipe, campaign recipe, model range, product-review checklist, ratios, and naming convention. Apply them to three to five related products. Review the group in layouts, adjust once, then scale.
This method keeps the team close to the product while still taking advantage of faster generation. It also gives every image a reason to exist.
Use AI product photography for clothing when the immediate job is a controlled PDP reference. Build a comparable SKU set with the AI fashion catalog generator, then use the AI lookbook generator when the collection needs an edited image sequence rather than another catalog row. Review the PlusLooks workflow, or start your AI fashion photoshoot with one hero SKU and four required frames.
Author
Categories
More Posts
AI Clothes Changer Online: 5 Checks Before You Generate
Use an AI clothes changer online with fewer avoidable errors. Check garment photos, model references, views, backgrounds, ratios, and final image quality.
PlusLooks Image Workflow: Garment Photo to Model Image
Follow the PlusLooks image workflow from garment upload to final review, including models, camera views, backgrounds, aspect ratios, and output quality.
Plus Size Fashion Photography: A Better AI Model Brief
Build a clearer plus size fashion photography brief for AI model images. Define body direction, garment accuracy, framing, representation, and review.
Newsletter
Join the PlusLooks community
Get styling tips, new features, and plus-size fashion trends delivered to your inbox