Change the clothes, keep the model direction
AI Outfit Changer for Plus Size Fashion Brands
Upload a clothing reference, choose a preset model or add your own model photo, and create a new on-model image. The Plus Looks AI outfit changer gives fashion teams control over the view, background, aspect ratio, and 1K or 2K output before they generate.
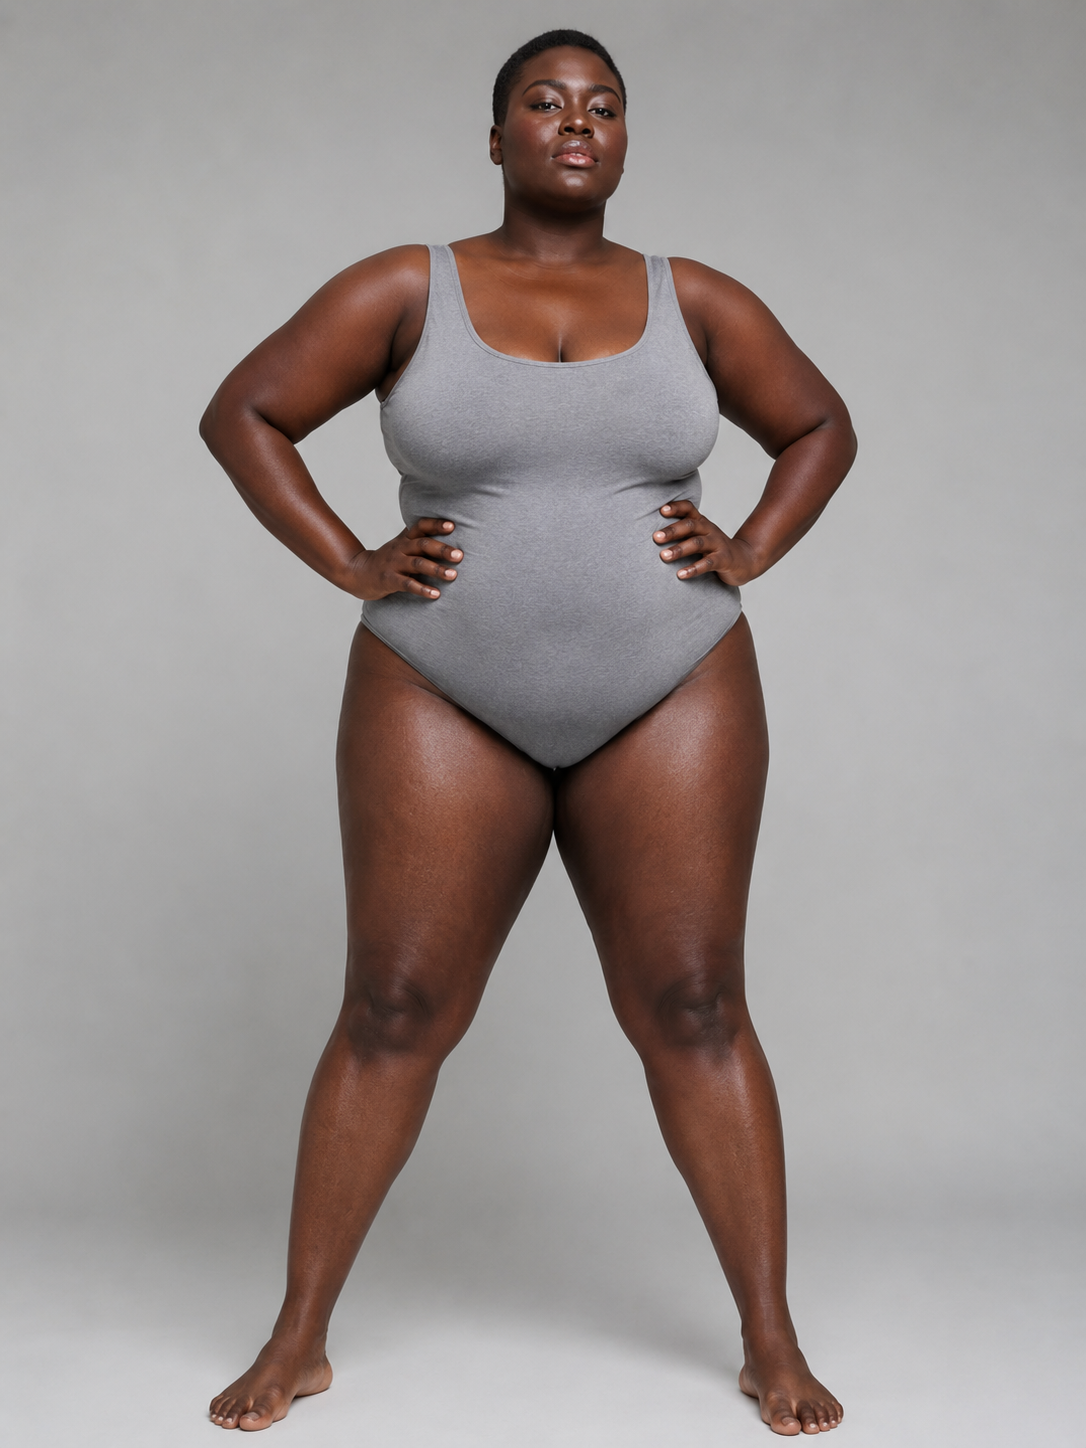
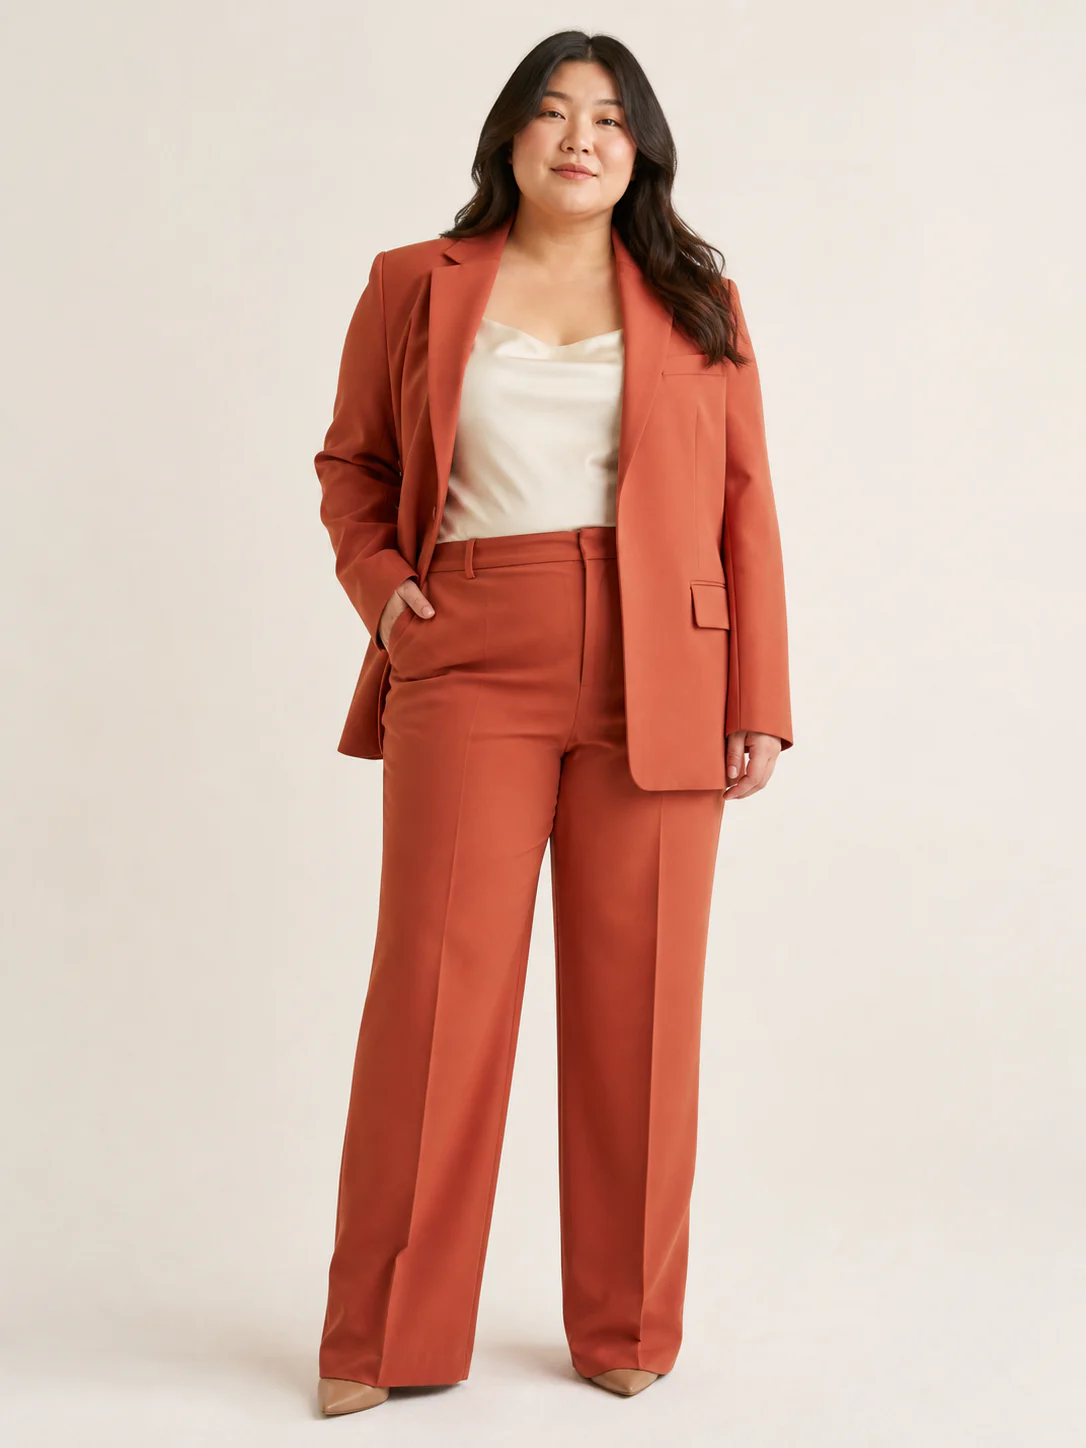
Two references, one controlled result
Keep the person direction. Replace the garment.
Separate model choice from clothing choice, then review the camera and output settings before using credits.
- preset plus-size model combinations
- 12
- front, back, and side views
- 9
- output aspect ratios
- 7
- resolution choices
- 1K / 2K
A clear replacement brief
How to use an AI outfit changer without losing the product
Start with two readable inputs. The model photo should show the body and pose clearly, without crossed arms, large bags, or another person blocking the clothing area. The garment image should show the full front. Add a back image only when the back contains information the front cannot provide, such as a tie, vent, print placement, pocket, or closure.
In Plus Looks, the model can come from the preset library or from a photo you upload. The preset library covers pear, apple, and hourglass directions across four skin-tone options. A custom model photo is useful when a campaign already has a person, pose, or visual identity that the next garment image should follow.
Choose the shot after the two inputs are ready. The AI outfit changer supports full-body, upper-body, and lower-body framing from the front, back, or side. You can preserve the original background, use white, or describe another background, then select one of seven ratios and 1K or 2K resolution. The workspace displays the credit cost before generation.
1. Add a model direction
Pick one of 12 presets or upload a clear model photo with the clothing area visible.
2. Add the garment
Upload a complete front image and add the back only when it carries useful construction details.
3. Set the output
Confirm the view, background, ratio, resolution, image count, and credit total.
The source image is part of the brief
Prepare references the generator can actually read
A clean reference does not need to be studio-perfect. It does need to make the important edges visible. Keep sleeves separated from the torso when possible, show the complete hem, and avoid cropping a neckline, cuff, waistband, or shoe that belongs to the intended outfit. Even lighting helps distinguish fabric from shadow.
For the garment, a flat lay, hanger image, supplier image, or clean product photo can work. Remove duplicate files and choose the version that shows color and construction most clearly. If a hand, belt, jacket, or prop hides a key area, use another image rather than asking the AI outfit changer to invent what it cannot see.
Choose the uploaded model pose for the job. A direct stance helps comparison; an expressive pose suits selected campaign images. Reuse the model direction and frame across one edit.
Visible silhouette
Keep neckline, sleeves, waist, hem, and garment edges readable.
Useful back view
Add it when it explains real construction, not only to increase the image count.
Compatible pose
Use direct poses for comparison and expressive poses for selected campaign images.
Consistent crop
Hold the frame steady when reviewing several garments or colorways.
Two related jobs, two useful starting points
AI outfit changing and virtual try-on are not identical briefs
An outfit-changing brief usually starts with a person or model image that already has the pose, identity direction, or scene you want to keep. The clothing is the main variable. A virtual try-on brief often starts with a garment and asks which model, view, and background can present it clearly. Plus Looks uses the same production workspace for both, but the review criteria should follow the starting point.
With an AI outfit changer, first ask whether the person direction still feels consistent after the clothing changes. Check face, hair, pose, hands, and body edges alongside the garment. With a garment-first virtual try-on, place more attention on whether the clothing construction and product sequence remain useful across front, back, and side views.
Neither workflow measures physical fit. A generated image can show a visual interpretation of a garment on a body, but it does not know the wearer’s measurements, the garment grade rules, stretch recovery, seam tension, or comfort. Use verified size charts, specifications, and physical fittings for fit claims.
Change one variable for a reason
Where outfit replacement earns a place in fashion production
A brand can compare early styling directions before arranging a larger shoot. Put two garments on the same model, keep the crop and background steady, and review which silhouette supports the collection. The controlled baseline makes the decision visible.
Begin a product story with a clean full-front image. Add a side or back view only when it answers a product question. Once direct images pass review, one scene can support an email, social post, or collection page without hiding the garment.
An AI outfit changer can help plan color and casting directions. Keep the garment constant while comparing models, or keep the model constant while comparing colorways. Changing both at once weakens the decision.
Campaign direction
Compare garment options before committing a larger production budget.
Catalog extension
Add views that answer a real product question instead of generating every angle by default.
Colorway review
Hold the model and camera steady while the clothing color changes.
Generation is followed by inspection
Review the person, garment, and frame at full size
Open every result at full resolution and compare it with both references. Check face, hair, shoulders, hands, waist, hem, and feet. Inspect print direction, logos, buttons, zippers, pockets, straps, lace edges, and asymmetric details. Reject any image that changes the product.
Review the frame in context. Confirm that the crop leaves room around a plus-size body and does not cut the garment at an awkward joint. A custom background must not merge with the clothing or create implausible light.
The AI outfit changer creates candidates, not approvals. Keep sources, settings, accepted results, and rejection reasons together. “Left cuff changed” or “print lost at side seam” guides the next review better than “bad result.”
Scale only after the first comparison works
Turn one approved look into a repeatable image rule
Begin with one garment category. Record the model, view, background, ratio, resolution, and details that must survive. Review the first three results together and fix inconsistent crop or background before adding products.
Categories need different rules. A dress benefits from full-body views, a blouse may need upper-body framing, and trousers need lower-body space with an accurate waistband. One camera list for every product creates volume, not clarity.
Once the AI outfit changer rule works across varied garments, save it in the production brief. Keep exceptions visible: coats, sheer garments, reflective fabric, and complex prints may need stricter review or a physical shoot.
Approve a baseline
Use one model, one view, and one quiet background to establish the category standard.
Test variation
Try the rule on garments with different hems, sleeves, closures, and prints.
Record exceptions
Mark items that need another view, stricter review, or a conventional shoot.
Expand deliberately
Add atmosphere and more channels only after the direct product image passes.
FAQ
AI outfit changer questions
How does the Plus Looks AI outfit changer work?
Upload clothing, choose one of 12 preset model combinations or upload a model photo, then set the view, background, aspect ratio, resolution, and image count before generating.
Can I change clothes on my own model photo?
You can upload a clear custom model photo and use it as the model reference. Review the generated face, pose, hands, body edges, and garment details before publishing.
What clothing images work best?
Use a clear, complete front image with visible sleeves, neckline, waist, and hem. Add a back image when it contains construction details the front cannot show.
Does the tool guarantee that identity and garment details stay exact?
No generative result should be treated as an exact guarantee. Compare every output with the model and garment references, and reject altered faces, prints, closures, trims, or proportions.
Can an AI outfit image be used as a size or fit recommendation?
No. The image is a visual interpretation, not a measurement or fit prediction. Use verified garment dimensions, grade rules, size charts, and physical fittings for fit guidance.
Can I try the AI outfit changer for free?
New accounts receive free credits. The number of images you can create depends on image count, resolution, and the available credit balance shown in the workspace.
Change one outfit and inspect the full result
Use the AI outfit changer with one model direction and one readable garment reference. Inspect the controlled image before expanding the set.